Getting Started
Use this Quickstart to set up Voice Atlas, create your first Atlas, and publish content that your audience can access right away.
Quickstart Video
Quickstart Steps
Activate Your Account
- Open the invitation email and click Link to join the organization (links expire after 12 hours).
- Complete the registration form with your first name, last name, and a new password (enter it twice), then select Register.
- Watch for the verification email (valid for 5 minutes). Review your profile details and select Save to confirm.
- Sign in at the Voice Atlas web app with your email and new password to access the workspace.
If either link expires, contact your administrator for a fresh invitation.
📨 Keep your invite secure
Invitation and verification links expire quickly to protect your organization. If you share or forward the email, the recipient could claim your seat, so always request a new link instead of reusing an old one.
Create Your First Atlas
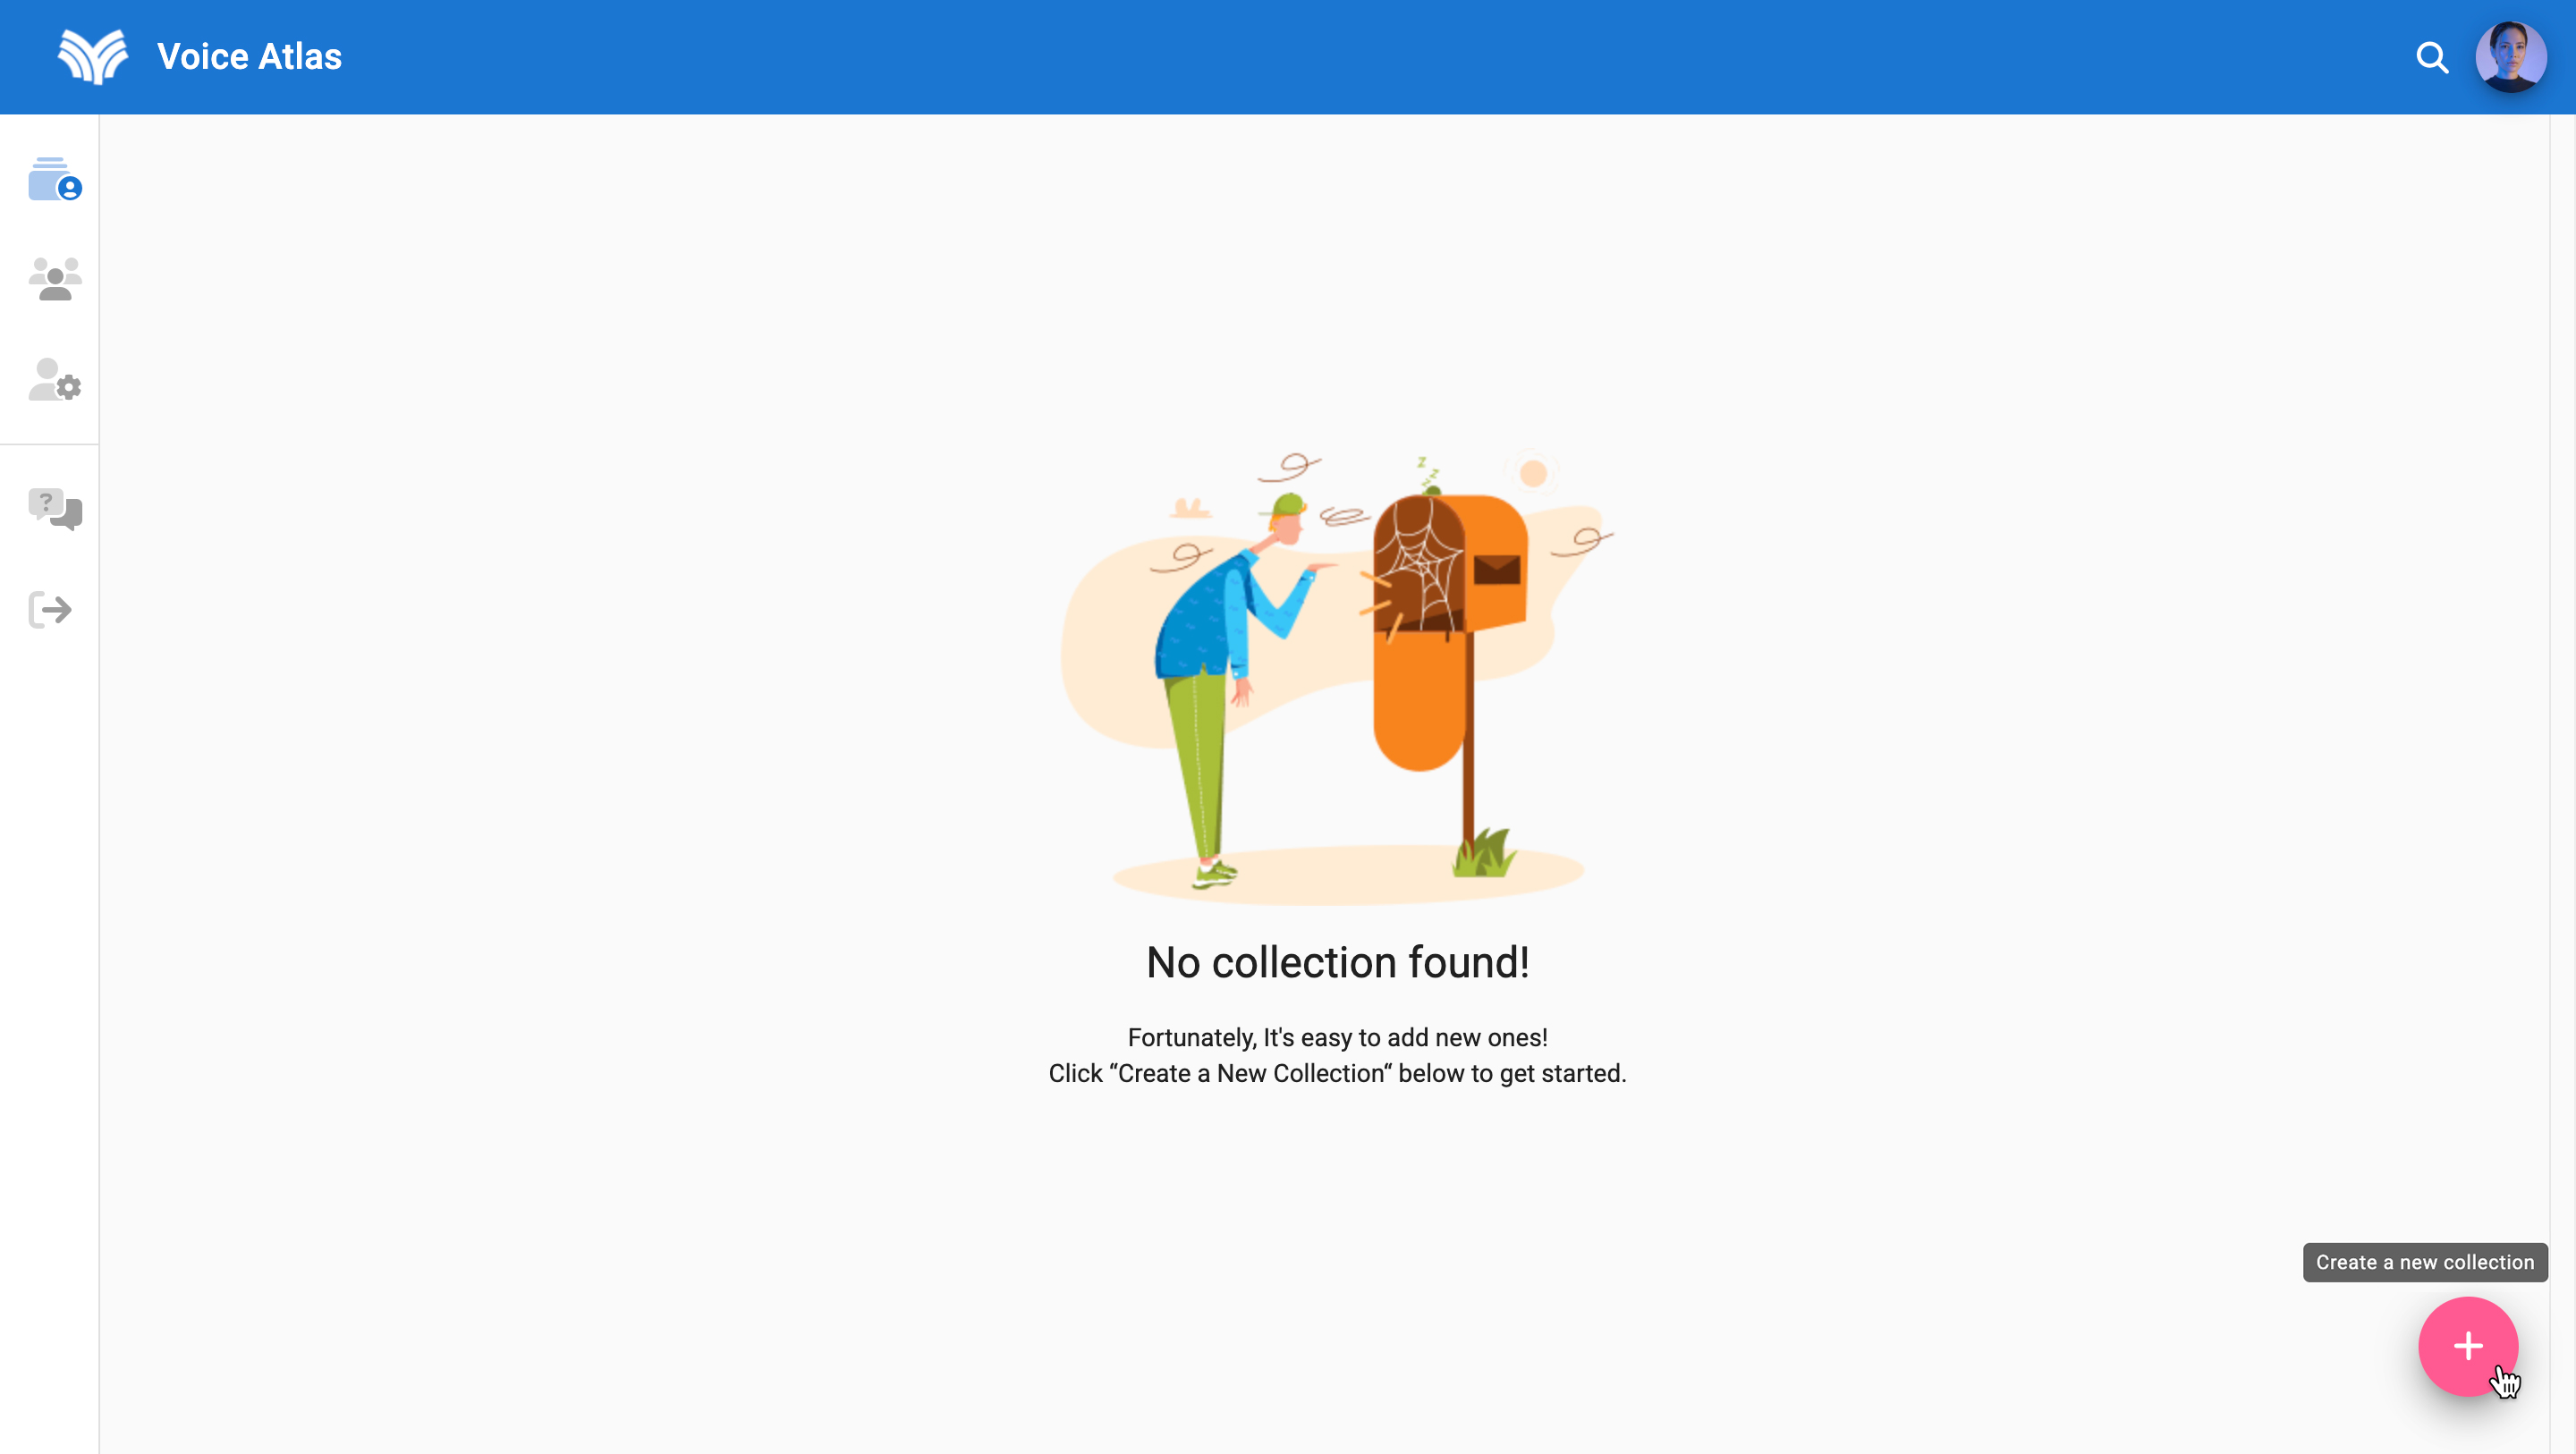
- From the My Atlas home feed, click the pink plus (+) button in the lower-right corner.
- Enter the Atlas title and required description.
- Select Save to add the Atlas to your home feed.
Ready for more detail? See the Creating an Atlas guide.
Add at least one item
Your Atlas cannot answer questions until it has at least one content item. Start with the type that can immediately serve your top questions, then layer in the others so every response has a source:
- FAQs: Fastest path to value. Capture the three to five questions you already field most often so the assistant has a clean, purpose-built answer.
- Document uploads: Bring in existing PDFs, DOCX files, or slide decks that contain policies, menus, or specifications. Use them to support longer answers.
- Crawlers: Point Voice Atlas at a web section (such as your help center) so it can ingest several linked pages at once, filling any gaps you have not documented manually.
Add a FAQ item
Populate the Atlas with information your users will need. Start with blocks of information that answer common questions.
- Open the Atlas and select the three squares + button in the toolbar.
- Choose FAQs and provide the title, optional question variations (up to three), and full content response.
- Select Save to add the FAQ to your Atlas.
🧠 Why add questions?
Voice Atlas matches a user prompt to FAQ items by comparing the optional questions you provide. When a close match is found, the platform uses that item’s content to generate the answer. If no strong match exists, Voice Atlas looks for other ways to complete the response.
🧼 Content hygiene checklist
- Break large topics into multiple FAQs so each answer stays focused.
- Avoid pasting sensitive or regulated data—use the Upload file(s) step only for approved documents.
- Add ownership tags (for example “Finance FY25”) in the description field so teammates know who maintains the item.
For more guidance on item types, visit Adding Content Items.
Add a document item
Upload policies, menus, or spec sheets as PDFs, DOCX files, or slide decks so longer answers have a reliable source.
Add a crawler item
Need to ingest existing webpages quickly? Choose Crawler, paste the base URL (for example
https://help.example.com/), and give the item a descriptive title such as “Help Center Crawl – March”. Limit the crawl depth to the sections you trust most—depth 1 or 2 typically gathers 25–75 links without straying into navigation clutter, while depth 3 can capture up to a few hundred pages for larger launches. Use Max links to enforce the cap you want (start with 50 and scale up once you confirm the results), and exclude query parameters or marketing paths that are likely to change. Review the previewed links, run the crawl to seed the Atlas with authoritative answers, and prioritize evergreen content like FAQs, runbooks, policy pages, or product specs over short announcements so the Atlas learns from the cleanest possible sources.
Test and Share
- Use the Atlas Playground to validate new questions and answers.
- Invite reviewers by sharing the Atlas or enable Chatlas to embed it in other channels.
- Monitor analytics to see how users interact and iterate with the Improve Atlas Quality checklist and the Atlas Analytics reports.
🔄 Close the feedback loop
Schedule a recurring review—many teams check metrics weekly—so content owners can triage unanswered questions, refresh FAQs, and celebrate wins with stakeholders. Consistency keeps the Atlas trustworthy.
Next Steps
- Explore the full Atlas Workspace documentation for advanced workflows.
- Review Atlas Analytics to understand usage trends once you launch.
- Check the Voice Atlas Overview if you need a refresher on key concepts.